From A work Van To a Family Camper
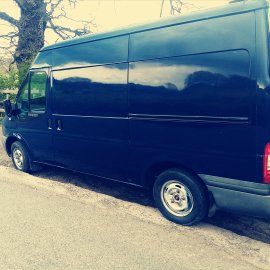
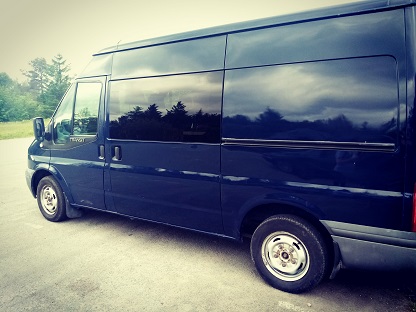
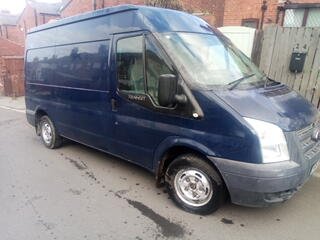
This is our current camper. A Ford Transit medium wheelbase, medium roof van. It started its life as a hydraulic hose repair van. I had been looking for another van for around 2 months since I sold the last one. Unfortunately my timing had not been great as we were coming out of lockdown and many people were having staycations and campervans had become very popular especially self built ones, this had pushed the demand and price of vans through the roof. I dropped on lucky with this van as the price and location was perfect. A quick inspection and it was bought.
The same day same I had bought it the project commenced, the first thing was a good clean inside and out. It actually came up quite shiny, yes it has a few scratches and dings here and there but I didn’t expect any less it was a work van after all, and I don’t want something immaculate as some roads and places we will be going will be less stressful if I don’t need to worry about the paintwork. !
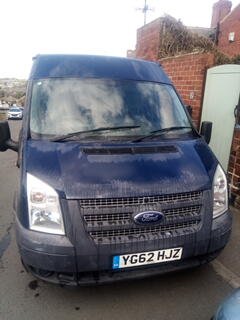
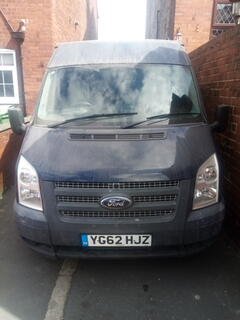
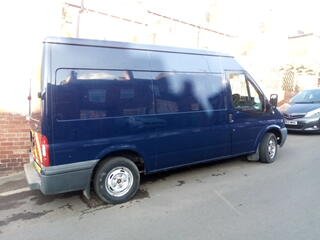
There was racking in the back which I removed and sold on recouping some costs which was a bonus, once that was out I took the plyboard up from the floor apprehensively not knowing what to expect. I was pleasantly surprised to find not a spot of rust to be seen but what I did find was hydraulic oil …..lots of it ! Im guessing this must have leaked from a tub at some point and found its way down under the flooring, not a bad thing as this will have prevented any rust forming. However removing this proved tricky especially as this build was undertaken on my street on a steep hill it was like a ice skating rink in there resulting me sliding down the length of the van a good number of times 🙂
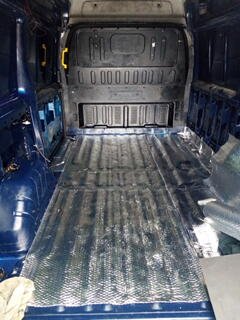
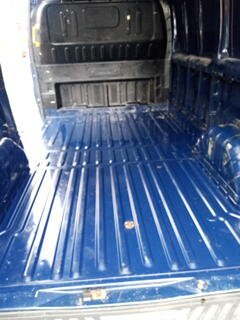
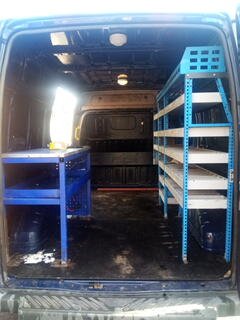
The next step was to remove the bulkhead which to be honest was fairly easy.
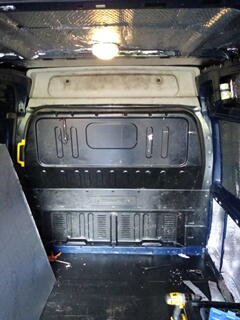
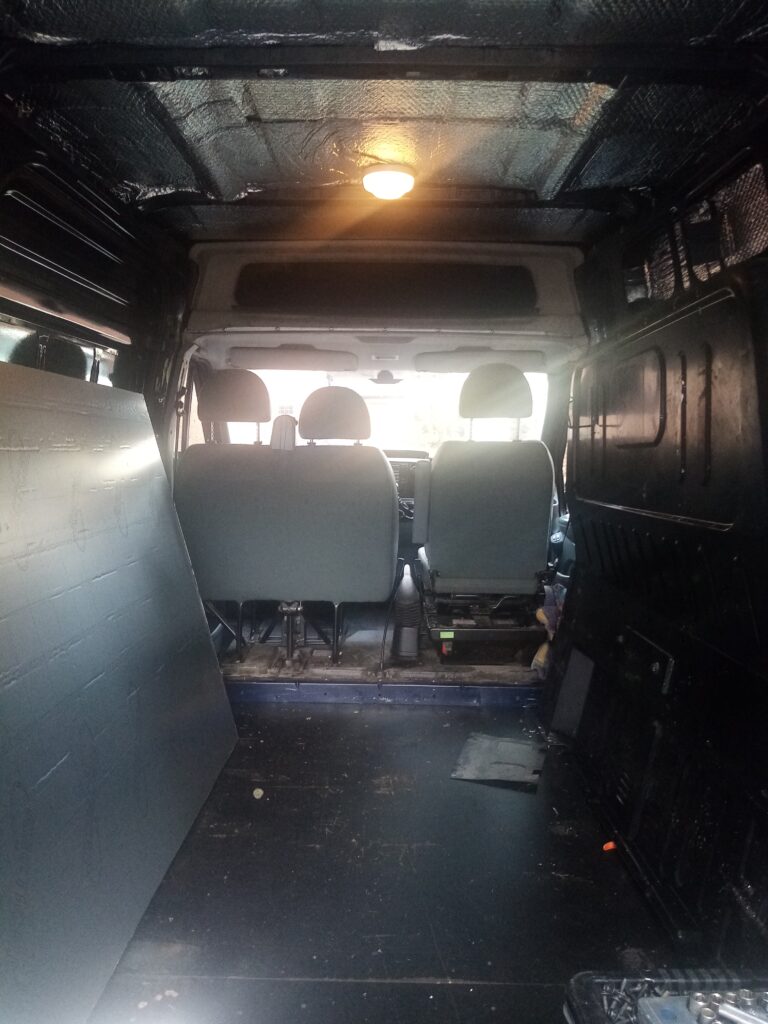
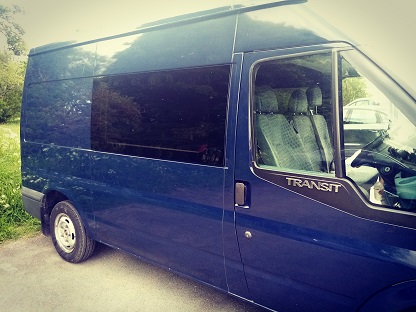
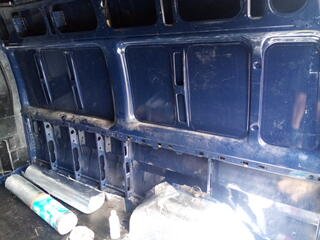
The windows were next I knew I wanted a good sized window in each side so on the not so good days we could spend time inside the van not feeling like we were in a box, and able to enjoy the views wherever we parked and also have natural light in the van.
I had originally planned to do the windows myself and had watched many youtube videos on the subject, however I came across a local company who’s price was too good to pass and it would save me a days work also. So it was took down one Friday morning and picked it up 2 hours later resembling more of a look of a campervan I was super happy with the result.
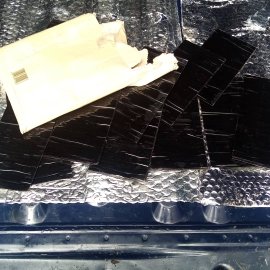
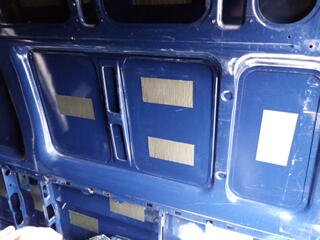
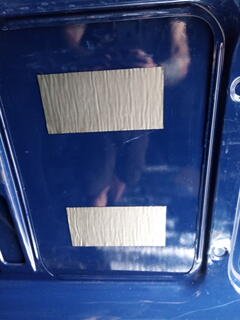
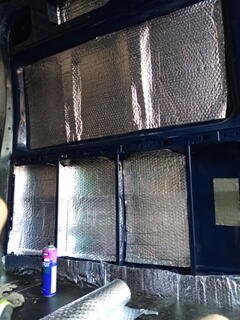
We all know vans can be noisy so after some research it seemed that a good thing to do was to install sound deadening on the panels. These can be bought in many sizes and there are many brands making these I cant remember which make I went for but I chose a mid price brand. I ensured the panels were clean first to enable them to stick as they are self adhesive. You can cut them to size if needed depending on what size you buy. I found it best to warm the panel up then the sound deadening with a hairdryer to make them flexible as this makes them easier to stick on.
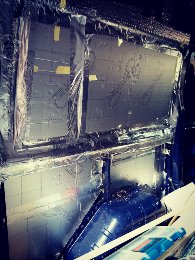
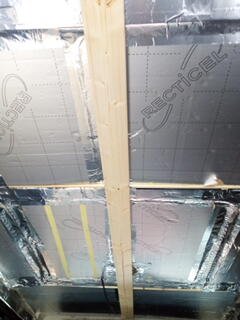
Insulation was next I had chosen to install a vapour barrier, then celotex insulation boards cut to size and then slotted into the areas and held in place with foil tape around the edges. In all voids sheeps wool was used it took me a while to decide what to use as there are many opinions and contradictions out there but in the end its sheeps wool thats it its done !
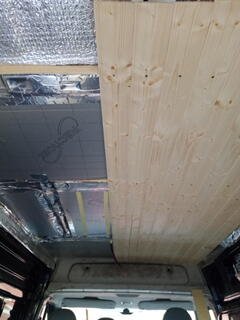
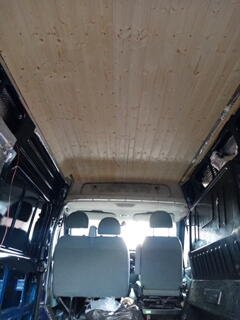
Then I cladded the roof installing batons onto the bearers then screwing the cladding to these. This took longer than expected but this was due to the difficulty’s of doing it single handedly but once I had it sussed out I get quicker doing it.
Electrics ! I wanted to keep things simple, we don’t need a lot of sockets or gadgets ,there was already a spit relay set up in the van, these charge the leisure battery from the drive battery when driving I only needed a new leisure battery to complete the circuit.
A fuse box with switches which is essential was fitted, all feeds to the battery will run through this for safety the negative wires all run to a negative bar. This is all pretty simple stuff but for me it was an interesting learning curve. I located the battery just to the right of the sliding door, this is where I was going to have the kitchen unit and the fuse box will also be here. Wires were installed for the diesel heater, lights and some usb ports and passed through the struts in the van and between the installation.
Timber was acquired for the frame work for the bed/garage, kitchen unit and bench seating. a lot of learning was done during the process of building these.
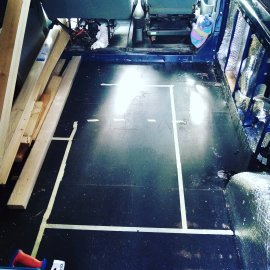
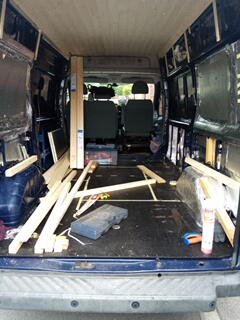
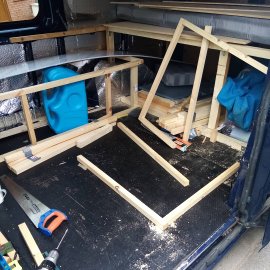
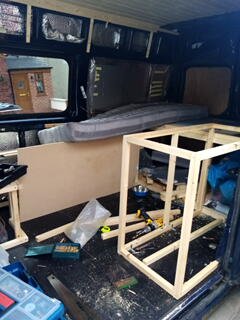
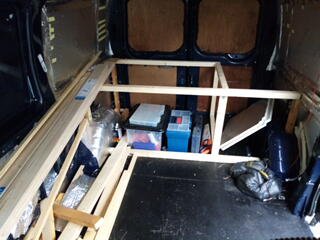
Once that was built the bench seat and garage frame were built.
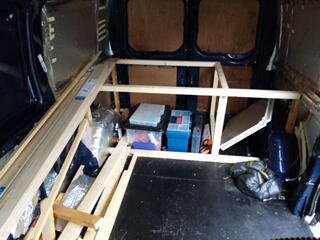
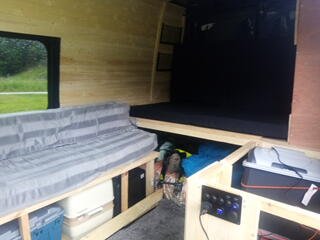
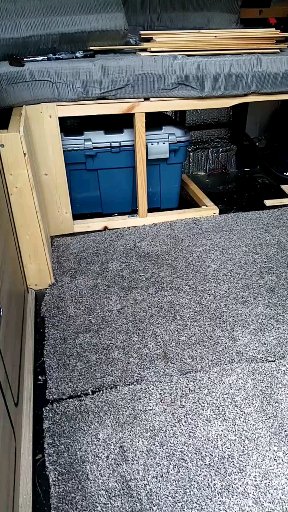
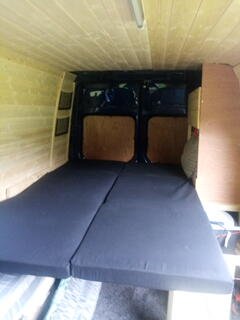
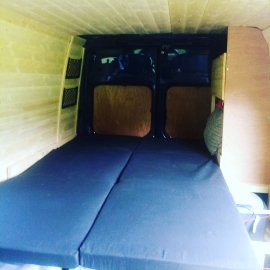
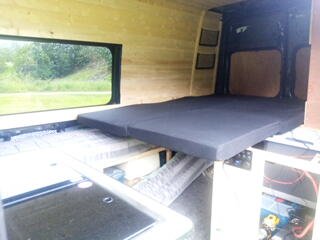
The way I was installing the bed was a slide out type down the length of the van. The last van bed was fixed width ways which is just too short even for us who are both pretty short people. This was a simple construction one plyboard cut in half one half screwed down and the other half sits on top when the bed is needed you just slide the top one out and it rests on the worktop overhang and rests on a 2×2 batten that is fastened to the van wall. Two single futons were purchased and were perfect and simple.
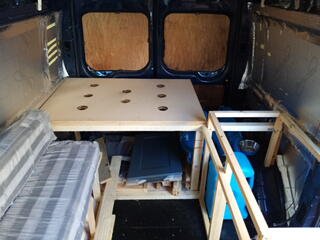
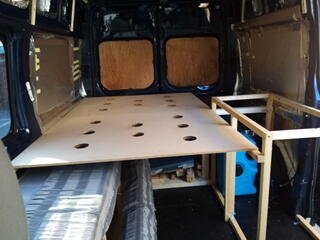
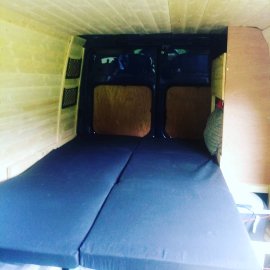
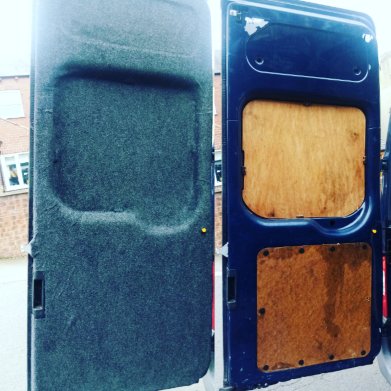
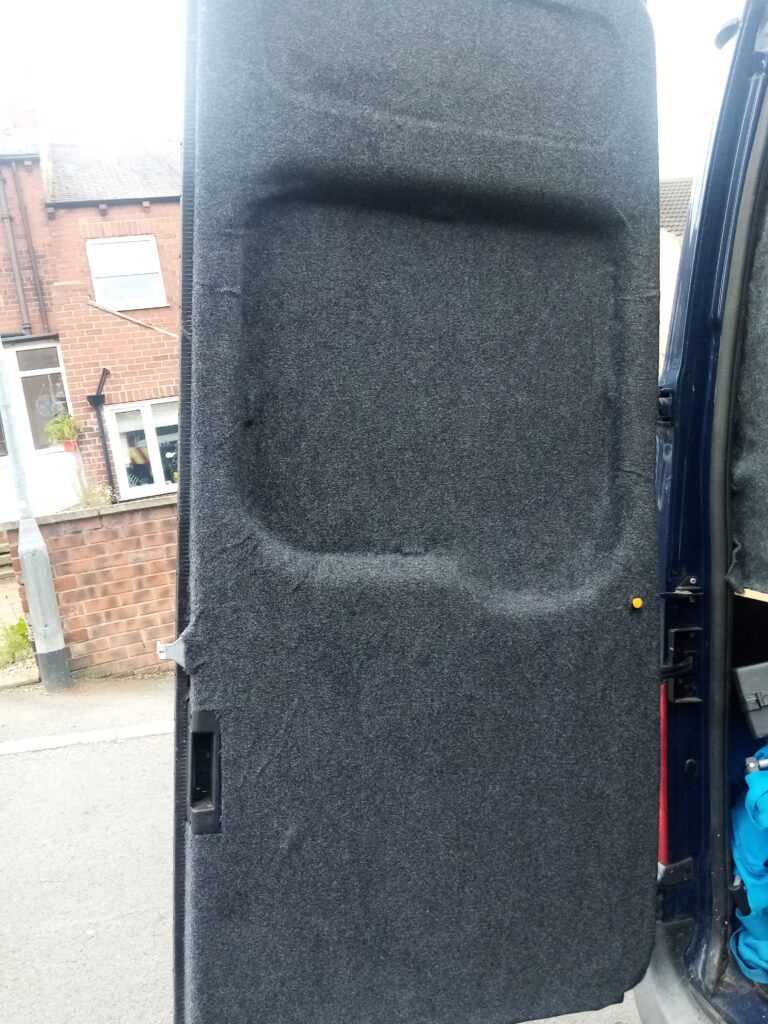
The rear doors were fitted with vapour barrier and carpeted on top, no insulation so I will see how we get on with that it can be added later. These were done last as I wasn’t sure whether to block the rear doors from the bed to keep warmth and privacy if the doors were opened. But I decided not to hoping to have good park ups where we can open the back doors in the morning to take in views from the bed.
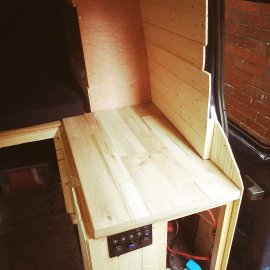
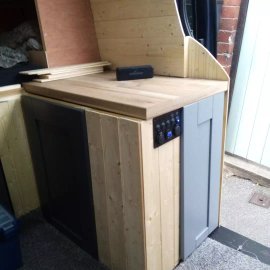
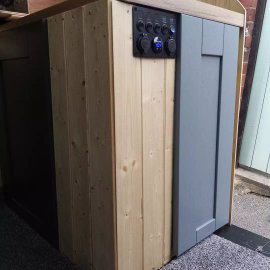
I sourced a work top from a friend which was fantastic and looked amazing. This was going to house the cooker and sink. It was fitted onto the framework and I got some free cupboard doors also from the father in in law these had to be cut down to fit but looked smart enough. Along with the switch panel installed this unit was finished just some shelving to be done inside.
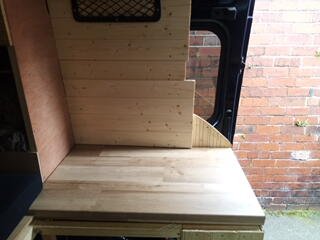
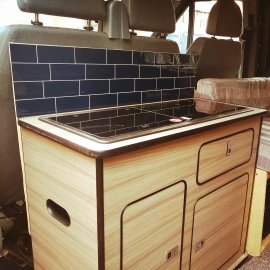
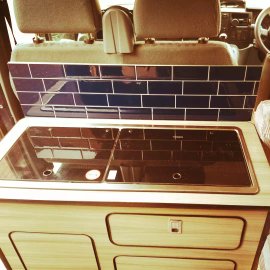
Before I had purchased a sink and hob to install into the worktop, I came across a kitchen pod unit on facebook market place at a really good price, so this was snapped up and a redesign of the van had to be looked at. Originally I wanted a front swivel seat to create more liveable space but upon purchase of this unit I decided to install it behind the front passenger seat and keep the built kitchen unit as a worktop only and storage. So far this has worked great and we have needed the extra space the swivel seats would have given us.
A smev stove and sink was bought and installed into the kitchen pod, this has a electric pump and tap so a wire had to be run to that and it proves to be fantastic. Water is stored simply underneath in a 10 litre container this can be topped up from other containers which on long trips will be kept in the garage, on shorter trips we can just buy bottled water to top up as and when needed. I didn’t want to install a big water tank and up to now this works fine. The waste water goes to another 10 litre container in the same place this can be emptied when needed again nice and simple. A simple splash back was made and some self adhesive tiles that come in squares that can be cut to suit were fitted finishing the look.
For the bed area I purchased 2 futons and built the bed area to the size of these giving plenty of room these work better than expected and double up as a seat when not in use.
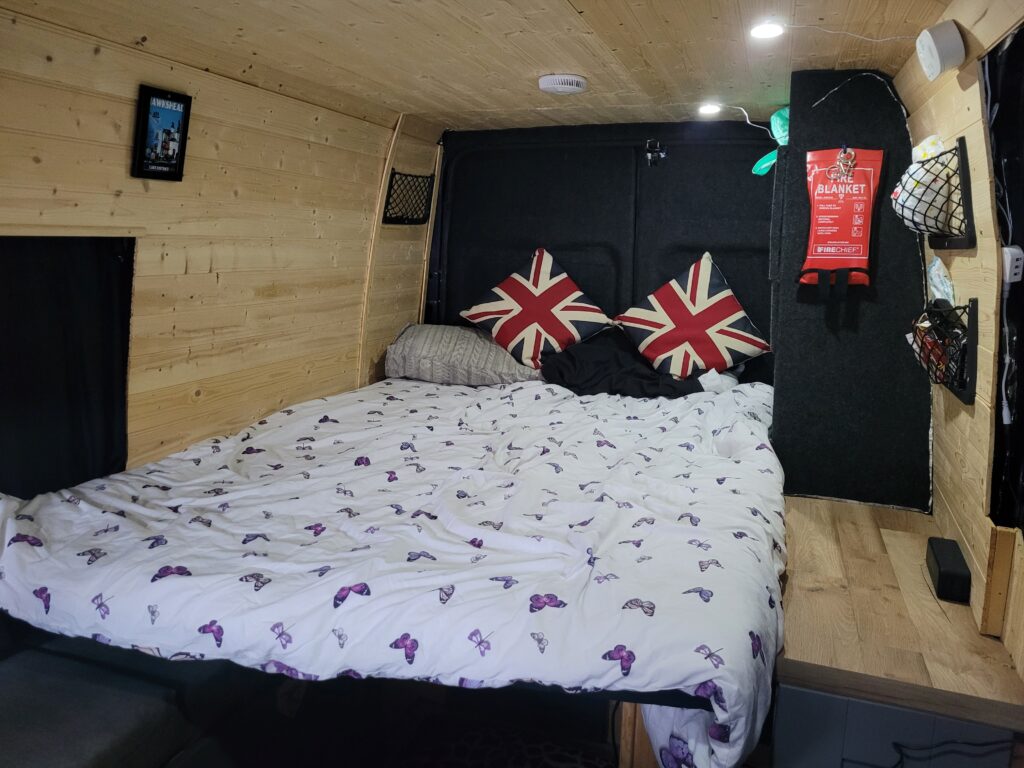
The rest of the cupboard doors were fitted, one to the garage area this is essential I knew I wanted access to the garage form the inside this way if you have left something in the garage and its raining outside your all warm inside the last thing you want to be doing is going outside. We tend to keep items like clothes bags and extra food accessible from this door.
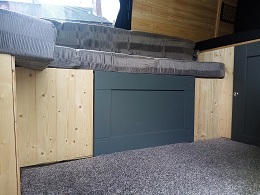
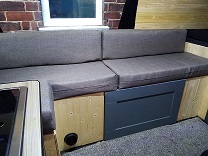
The flooring was next it was a choice between carpet or laminate. They both have pros and cons, carpets would make it look and feel warmer and be would be sound deadening but it would be harder to keep clean and looking nice. As we have a German Shepherd dog who will be with us in the van carpet was not going to be practical so laminate it was. But then I had the decision on the colour I don’t do well with too much choice ! In the end I went for a pack that was on offer, I am from Yorkshire after all. What a difference this made to the look of the inside it felt like it was nearing completion.
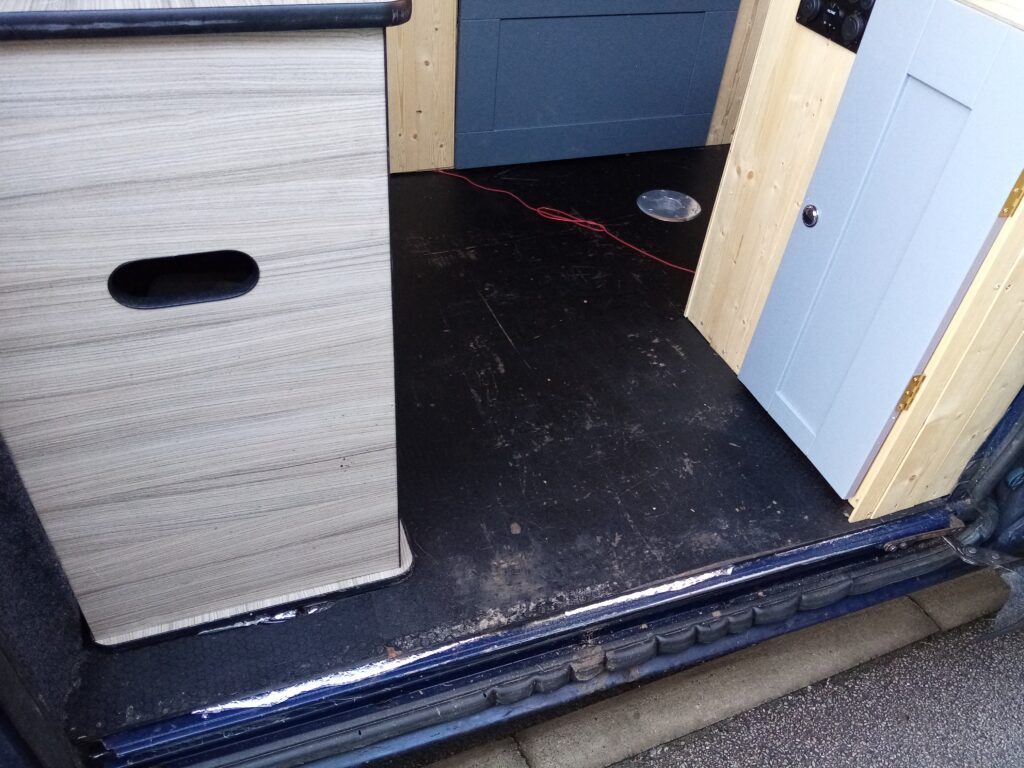
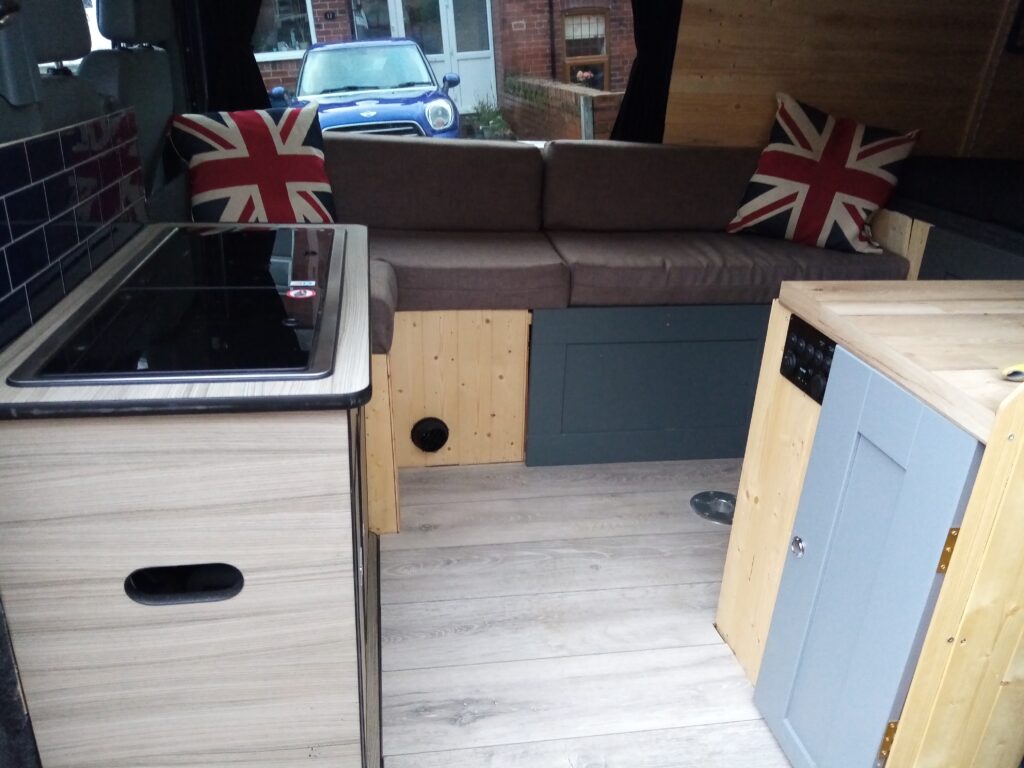
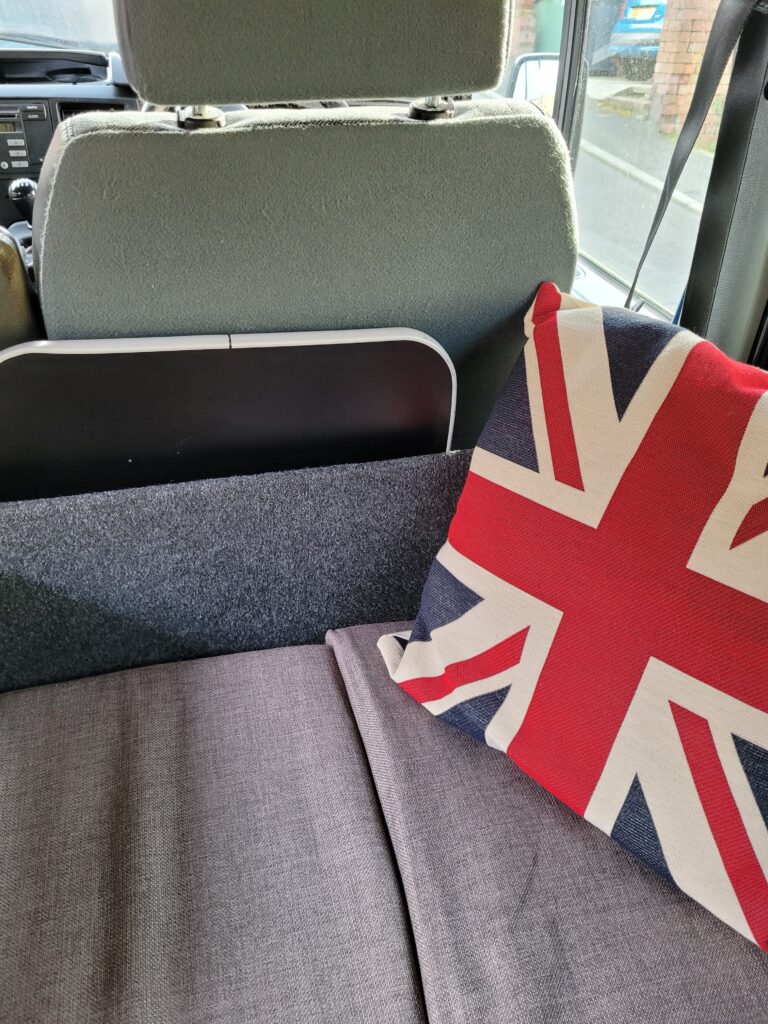
I decided on a table that was removable completely and is installed with one leg only. A hole drilled into the flooring for the base to sit in so it isnt a trip hazard and the table leg simply pushes into the base and the top sits on top and this one I have is much sturdier than you’d imagine it can also be spun round to be used at different angles. when not in use the top and leg are stored behind the drivers seat easily accessible.
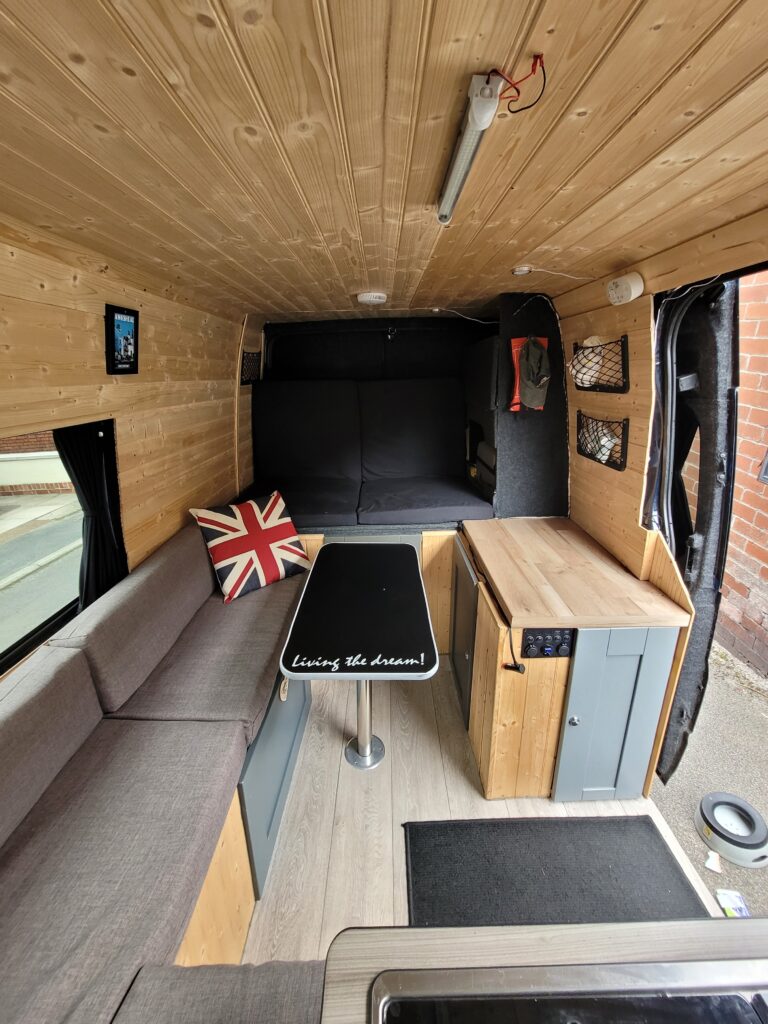
The diesel heater is located under the bench seat, where there’s plenty of storage for our tinned and packet foods. The porta potti is also under the bench seat and easily accessible when needed. The fridge was under the worktop unit but we have since moved it to the cupboard up next to the bed as we found when the bed was out and Mika was sleeping underneath it was hard to access. Its little things like this that you don’t realise until you start using the van. In the next few months a redesign will be needed to install a bed for Coben as at the moment he is using a little travel tent/cot but we want a nice little bed for him to have as his own little area so that’s the next thing that will be constructed.


This van now enables us as a family to Explore, Adventure and Get outside with ease. But there is nothing stopping you getting outside and exploring if you don’t own a van. See our other posts on the blog of camping alternatives that are available.
Any questions feel free to ask and we will be more than happy to answer if we can so please get in touch.

